This post may contain affiliate links
How to Build Your Own Guitar Pedal
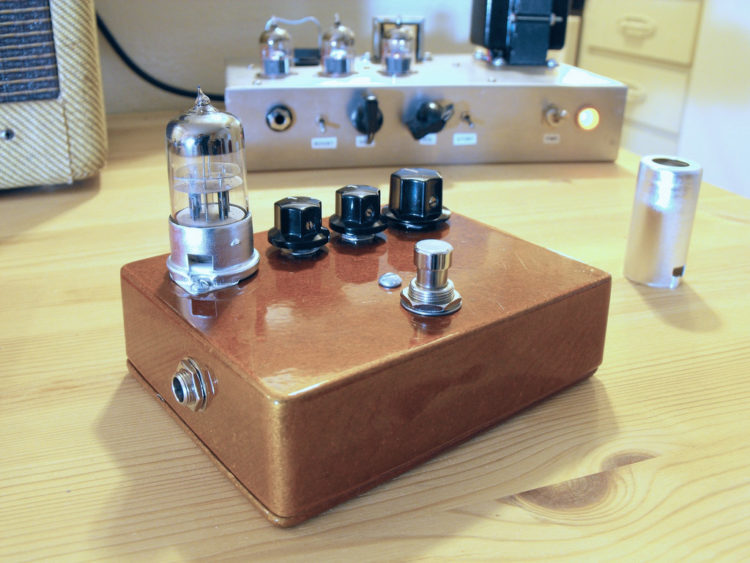
There is no shortage of guitar pedals available today. However, sometimes you need something done your own way, and that is where building DIY guitar pedals comes in.
There are many reasons why someone would want to build their own DIY guitar pedals:
- It can make for a fantastic hobby
- You can create your own unique guitar pedals.
- You can learn how to modify guitar pedals.
- It can be cheaper than buying the name-brand pedals.
- You could create your own pedal company!
And while there are a lot of things to know when building guitar pedals, it can be an extremely fulfilling hobby and we would recommend any guitar pedal enthusiast give it a try.
That is why we wanted to bring you this guide to show you everything you need to know to build DIY guitar pedals.
In this guide you will find:
- What you need to know to build DIY guitar pedals
- The tools you need to build guitar pedals
- Common DIY guitar pedal terminology
- How to get started making your own guitar pedals
- Resources for DIY guitar pedals
What You Need to Know to Build DIY Guitar Pedals
How to Solder
Whether you are building pre-made DIY guitar pedal kits or designing your own schematics, you will need to know how to solder electronics. Otherwise, you may run into issues with your pedals not working due to faulty solder connections. But don’t worry, it is quite easy to learn. Here is a very helpful video on the basics of soldering.
How to Read Guitar Pedal Schematics
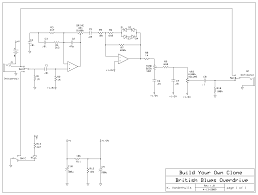
If you are building a DIY kit, you probably don’t need to fully understand schematics – most DIY pedal kits come with detailed instructions that are very easy to follow and understand. But understanding how to read electronics schematics is important if you are wanting to design your own pedals.
A schematic will show you what components are needed for the build, the values for each component, as well as how these parts are connected together to create (in this case) an effect pedal circuit. At first glance, a schematic may look like a bunch of hieroglyphics, compiled of various symbols, numbers, and letters – but don’t fret! – After a bit of practice, you should develop a basic understanding of how a schematic works, and you will be putting together DIY effect pedals in no time!
Here is a helpful guide to reading schematics.
Here’s a nice graphic that breaks down the symbols that are commonly found in schematics. Pay close attention to the symbols for Capacitors, Resistors, Integrated Circuits (ICs), Diodes, BJTs (transistors), and Voltage Nodes as those are highly common in guitar pedal schematics.
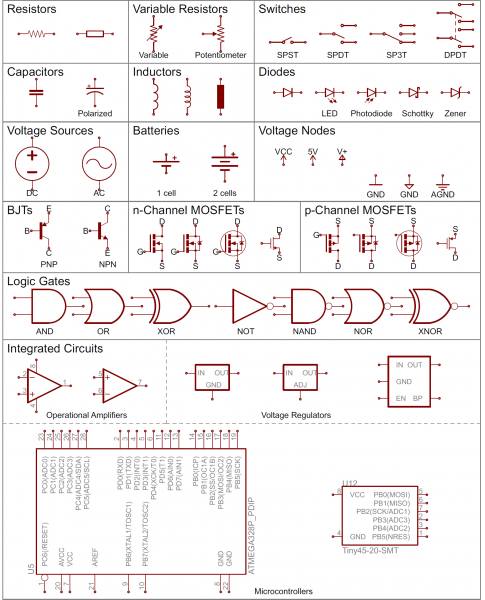
Image source: Sparkfun
The Tools You Need to Build DIY Guitar Pedals
Much like any other hobby, building guitar pedals requires specific tools in order to get the job done. Below are the tools you absolutely will need to build your own guitar pedals and a few optional pieces of equipment that will make your life easier.
A Soldering Iron
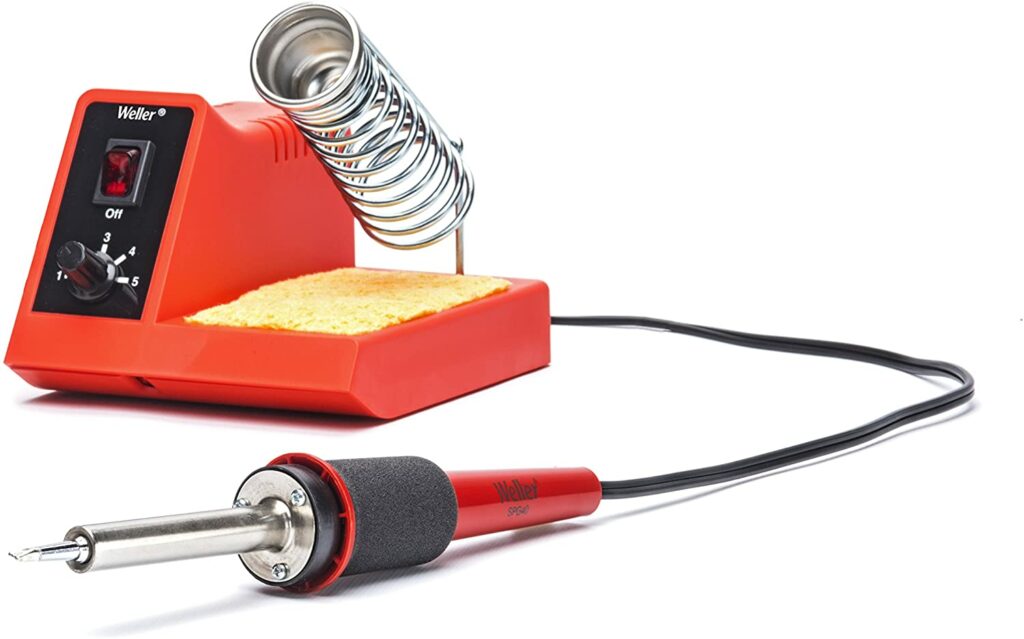
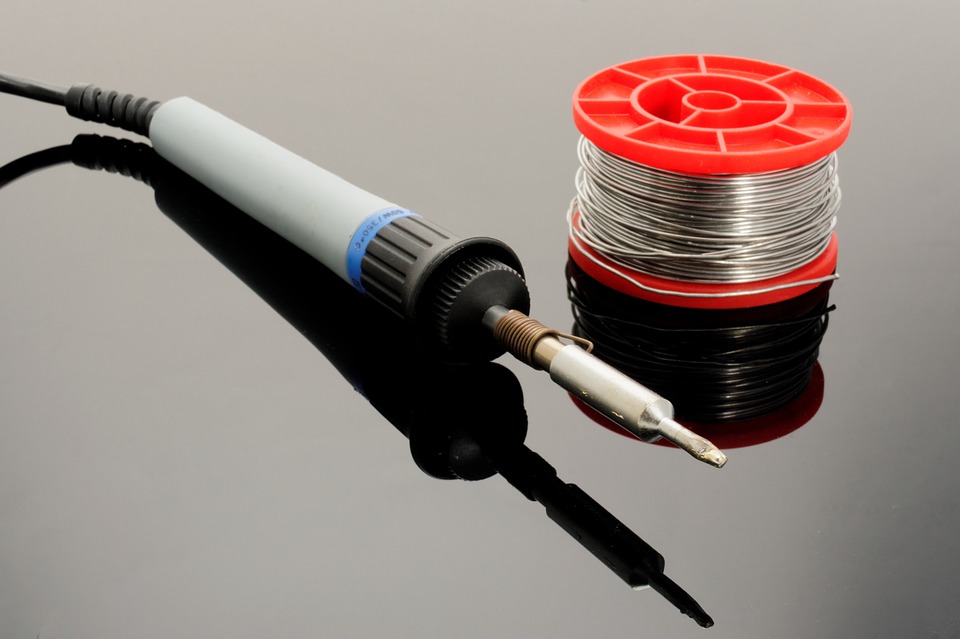
A soldering iron is an absolute must-have tool if you want to build guitar pedals. There are a lot of different soldering iron options available, but it is a good idea to get a soldering iron with an adjustable temperature control to ensure it will work for any pedal-building job you need. Here is the soldering iron I use.
Weller WLC100 40-Watt Soldering Station
This Weller Soldering Station is pretty affordable and a great option for anyone getting started. The variable power control allows you to adjust the power from 5 to 40 watts so it can get hot enough for any pedal-related job.
If you don’t want to spend too much on a soldering iron, a cheap pencil soldering iron like this one will do the trick, but I find these are not as easy to work with and you may end up wanting to upgrade later down the road.
Solder Wire
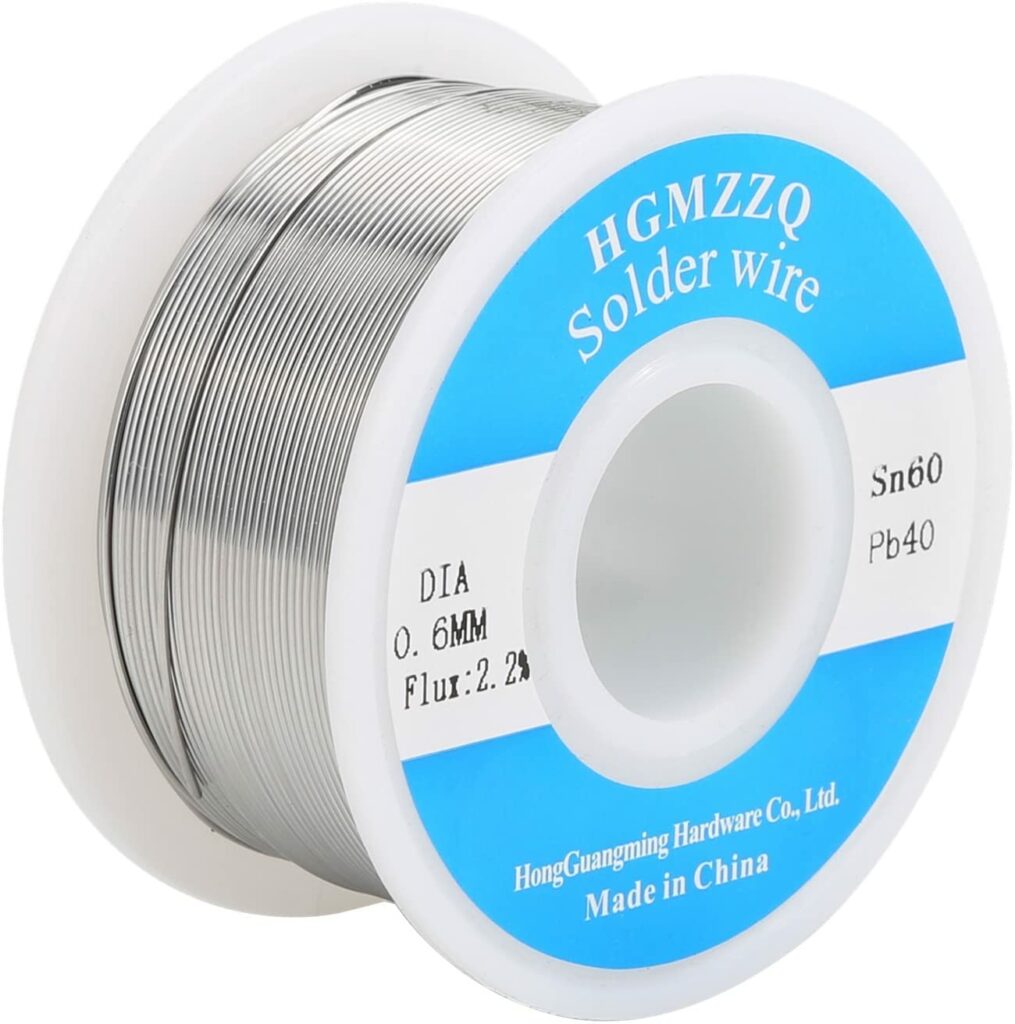
You will also need a spool of solder wire. Solder wire is what you melt with the soldering iron to connect components to the circuit board. I would recommend getting a spool of 60/40 solder wire like this one.
A Desoldering Pump
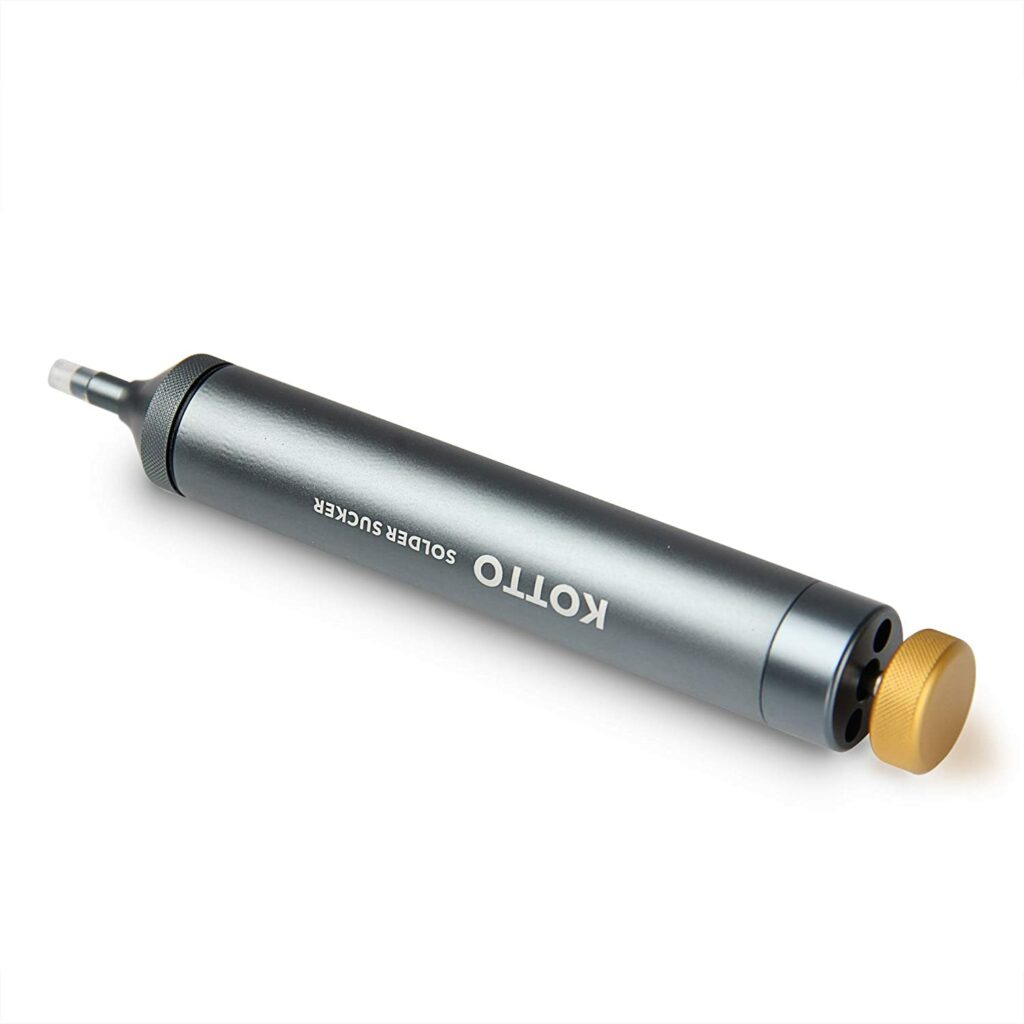
We will all make mistakes when building guitar pedals. A desoldering pump is a tool that allows you to easily (and quickly) undo soldering mistakes. While this could be considered an optional tool, I would highly recommend getting a desoldering pump, because it can be a huge time saver if you ever need to remove solder from a component and re-solder it.
If you don’t want to get a desoldering pump, then I would recommend at least getting a cheap roll of desoldering braid to help you undo soldering mistakes. Desoldering braid is a lot less convenient to use, but it can still get the job done.
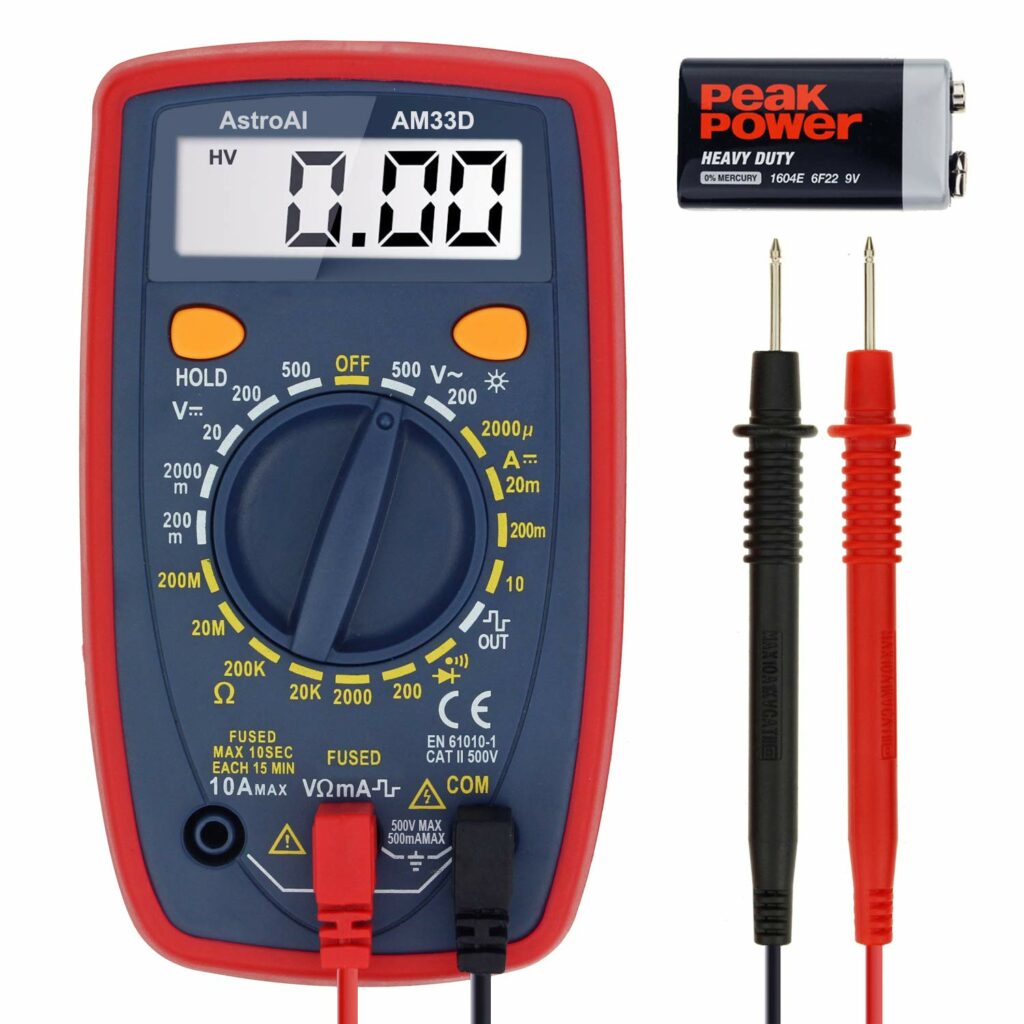
A Multimeter
A multimeter is a great tool for building guitar pedals. It can help you understand how the circuitry works inside of a pedal, test your solder connections, and will help you troubleshoot issues that may arise when building DIY pedals.
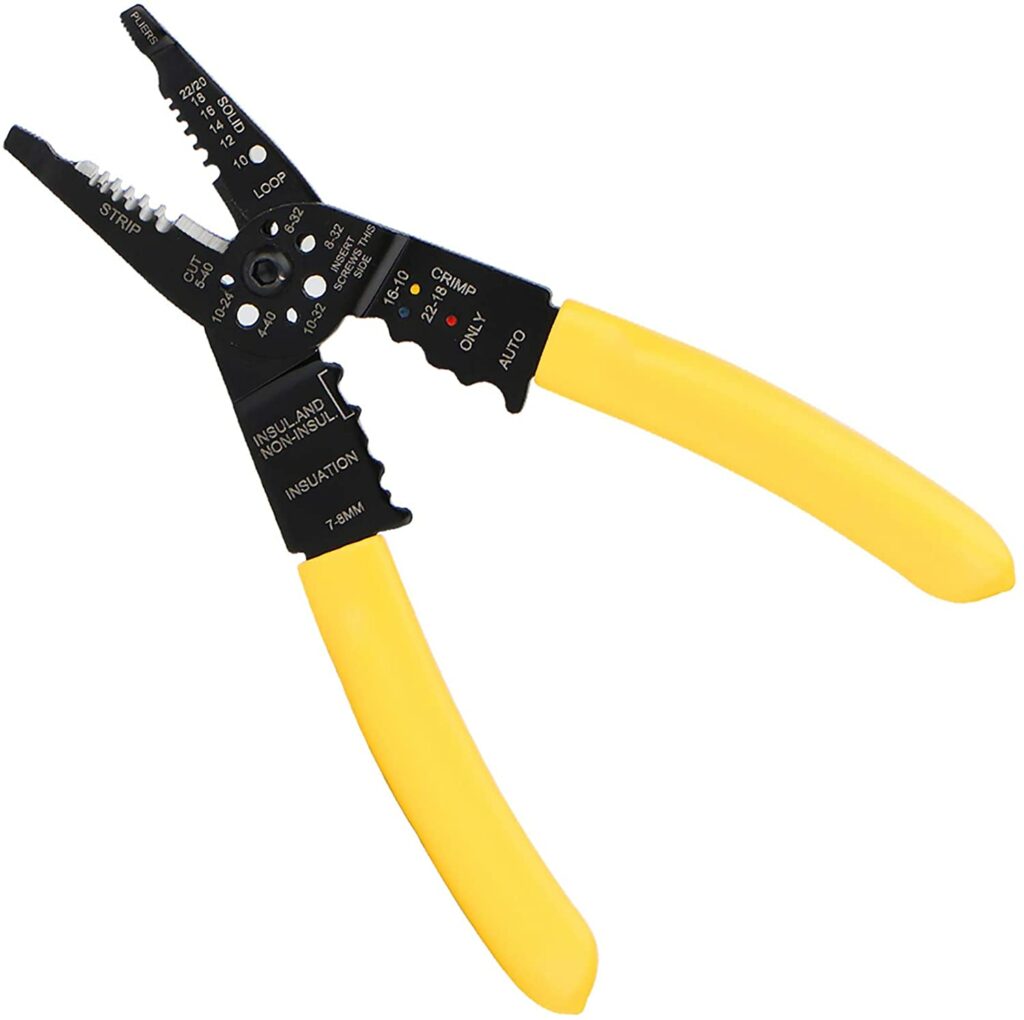
Wire Strippers
When building guitar pedals, you will be stripping a lot of wires. A pair of wire strippers is an absolute must-have tool for your kit.
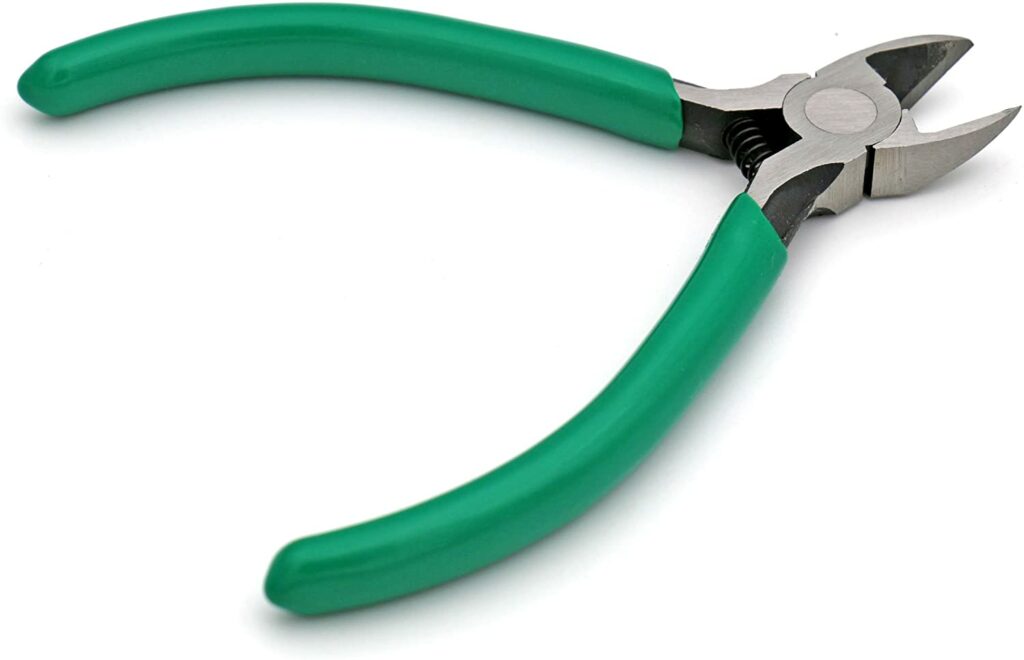
Wire Cutting Pliers
You will also need a set of wire cutters. When soldering components to a circuit board, you will need to clip the ends of the component legs off. So having a nice, small pair of wire-cutting pliers is a great idea. These are also helpful for cutting wires down to size before using wire strippers to strip them.
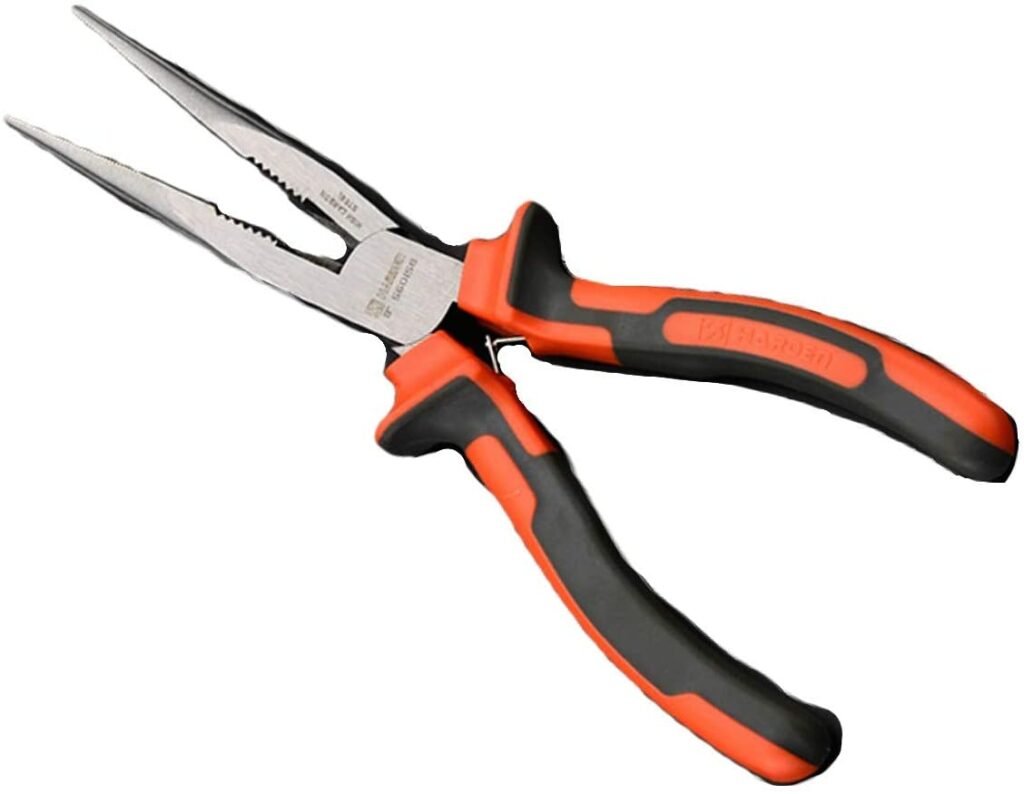
Needlenose Pliers
While you can build guitar pedals without these, it is a good idea to have them. Guitar pedals and the components used to build them are very small, and using your fingers to grab components or move things around can be tough. Having a set of needlenose pliers is very helpful, so I’d recommend you get some.
A PCB Holder
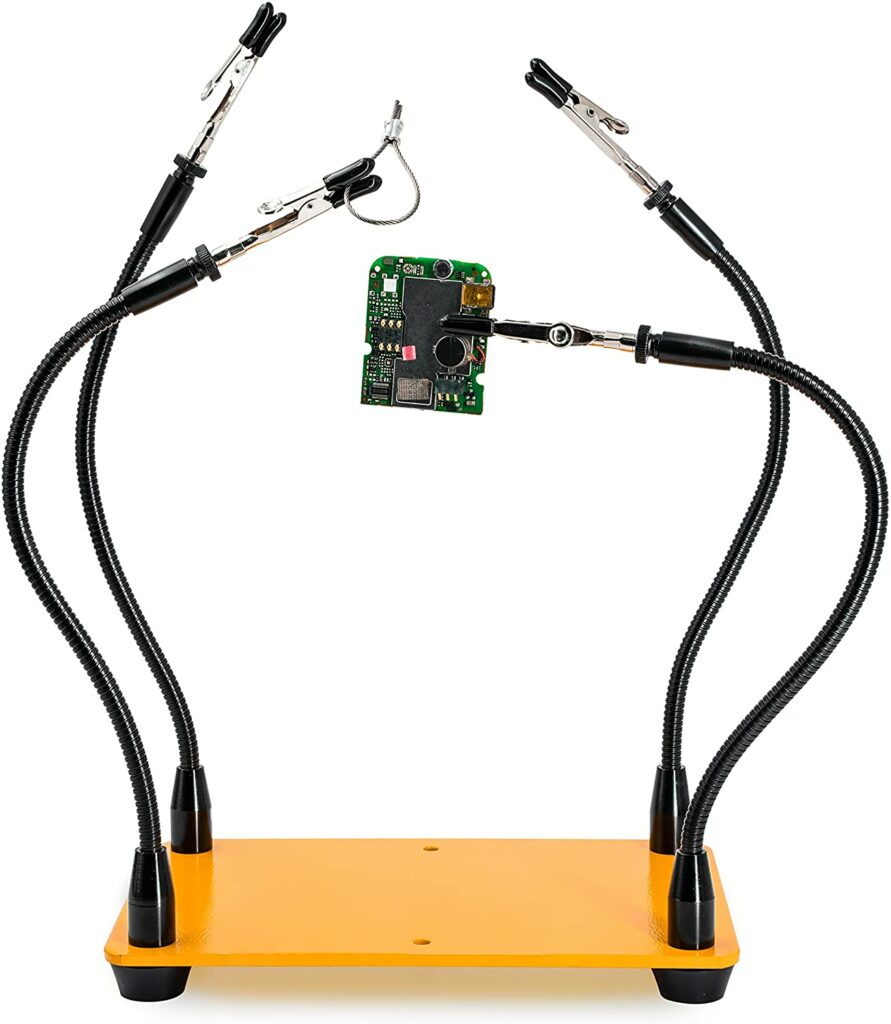
When soldering components to a circuit board, you will quickly find out that you don’t have enough hands to hold the soldering iron, the solder wire, the component, and the circuit board all at the same time. A PCB Holder, sometimes referred to as a ‘third hand’, is an optional tool that will make your life much easier.
A Small Fan
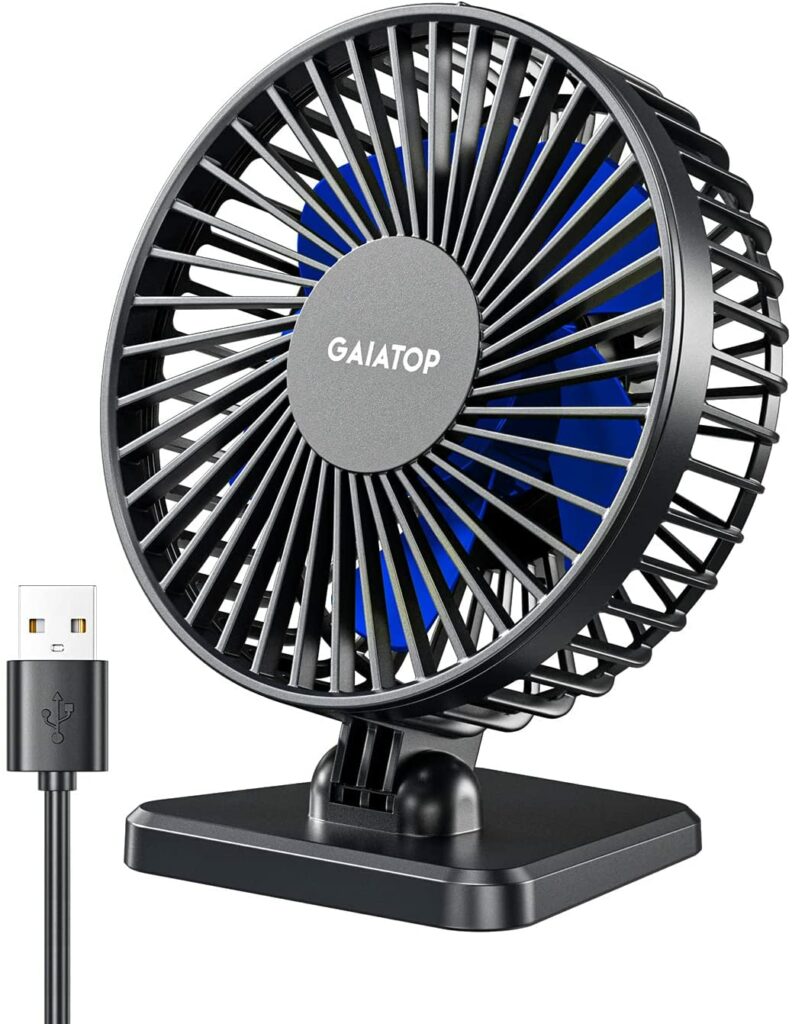
It is important to ensure you are soldering in a well-ventilated area because it is not good to inhale solder fumes all day. But it can be helpful to get a small desk fan to help blow the solder smoke towards an open window (or anywhere that isn’t directly into your face).
This is a good list of tools to get you started in building DIY guitar pedals. Other useful tools you may need are things like screwdrivers to screw the baseplate onto the pedal’s enclosure when it is finished or a socket set to tighten down the nuts for footswitches and potentiometers.
DIY Guitar Pedal Terminology
Enclosures
Guitar pedal enclosures are the metal boxes that house the circuit board and all of the components. Many DIY guitar pedal kits come with a pre-drilled enclosure so you don’t have to worry about measuring or drilling your own holes for the footswitches or knobs. But if you are wanting to create a fully custom pedal, you can get a blank enclosure and drill the holes you need into it.
DIY Guitar Pedal Enclosure Sizes Explained
When shopping for enclosures for your DIY guitar pedals, you will often see different size options with codes like “1590B”, which can be a bit confusing. Here’s a breakdown of the more common guitar pedal enclosure sizes.
- 1590B (Standard) – A 1590B sized enclosure is the most common pedal enclosure size. These are the size of an MXR pedal.
- 1590A (Mini) – A 1590A enclosure is what is commonly used for ‘mini’ pedals like the TC Electronic Flashback Mini or Mooer pedals.
- 1590BB (Large) – A 1590BB enclosure is around the same height as a 1590B, but is a bit wider. These have more room inside and are a great option for fitting larger circuit boards or circuits with a lot of knobs and switches.
If you don’t want to buy an enclosure, you can get creative and use weird things to house your pedal builds. Some crafty people even use electrical boxes and cake pans.
Components
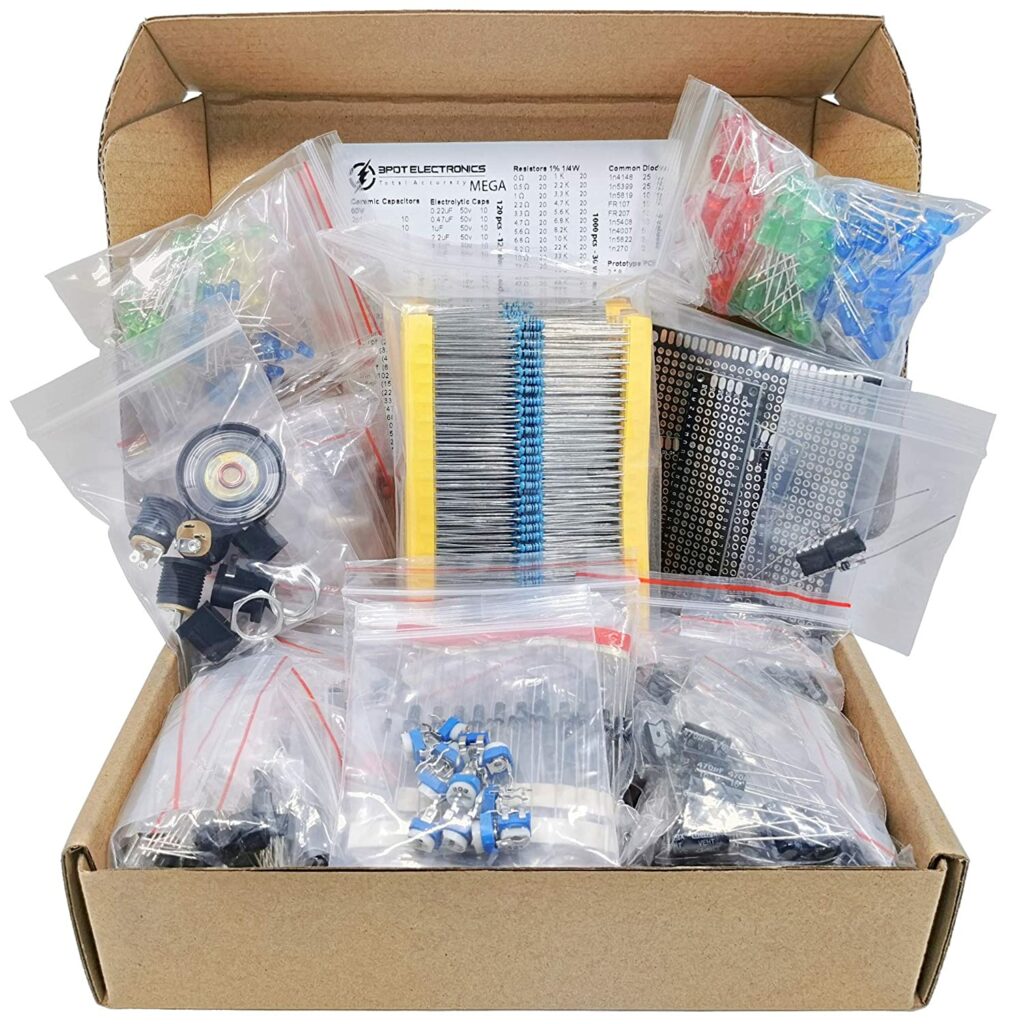
Components for DIY guitar pedals are things like capacitors, resistors, potentiometers, footswitches, or transistors. Each pedal you build will require different components in different values so it is a good idea to buy things in bulk so you have a variety of components on hand. This component kit comes with a massive supply of different components that are relevant to guitar pedal building.
Buy this Component Kit on Amazon
Common DIY Guitar Pedal Components
- Capacitors
- Resistors
- LEDs
- Diodes
- Transistors
- Integrated Circuits (ICs)
- Footswitches
- Potentiometers
Circuit Boards or PCBs
Circuit boards are what you populate with different components to create guitar pedal circuits. You will often see the term PCB, which stands for Printed Circuit Board, and these are what are commonly found in most guitar pedals or DIY pedal kits. Printed Circuit Boards are (usually) labeled to show where components go and have holes pre-drilled for each component to be soldered into.
However, you can also use stripboard or Veroboard for DIY guitar pedal projects. These are highly-customizable circuit board options and are great for someone getting into building their own guitar pedals.
How to Make a Guitar Pedal
Now that you have an understanding of electronics schematics and all of the tools you need, it is time to build your own guitar pedal. Putting together your first DIY guitar pedal can be a challenge, but don’t let failure slow you down – it happens to the best of us. Practice makes perfect.
We’d recommend starting off with building a DIY guitar pedal kit. These kits provide all of the necessary components, the circuit board, the enclosure, and a set of instructions to help you every step of the way. With a bit of soldering practice, you can definitely build a guitar pedal kit.
Places to Buy a DIY Guitar Pedal Kit
Once you have mastered the art of building guitar pedal kits, you can try ordering a pre-made PCB from somewhere like PedalPCB, which offers printed circuit board clones of popular guitar pedals. These are a bit more challenging than kits because you need to source your own components and enclosure.
If that’s not enough for you, it can be fun to get into building guitar pedals on Veroboard or stripboard. Check out the Tagboard Effects website for a ton of different stripboard clones of different guitar pedals. These builds are a bit more challenging than kits, but they aren’t too hard to figure out and offer more options when it comes to customization.
And finally, you can get a breadboard that allows you to design and prototype your very own circuit designs, and you can then create custom PCBs to make your own pedal from start to finish.
Overall, the world of DIY guitar pedals can be a wild ride. It is vital to do your research and build accordingly – most importantly, have fun doing it!
Resources for Building DIY Guitar Pedals
The Best DIY Guitar Pedal Kits – Our list of great beginner-friendly DIY guitar pedal kits.
Book: Electronic Projects for Musicians – This book provides an entry-level look into the world of musical electronics – including pedals!
BYOC’s Beginner Packages – Build Your Own Clone (BYOC) offers a number of Beginner Packages containing DIY pedal kits, tools, and more.
General Guitar Gadgets Schematics – General Guitar Gadgets has a ton of schematics available on their website. They also offer a lot of DIY guitar pedal kits.
A DIY Guitar Pedal Community on Reddit
Using GIMP to Design Pedal Artwork
Small Bear Electronics (Components & Info)
Tagboard Effects (Stripboard build schematics and useful information)
Pedal Projects – An online tool to help manage your DIY guitar pedal builds, order components, and keep track of your parts inventory.
Featured Image courtesy of: Tim Patterson

